Exterior Paint Prep: Why Scraping, Caulking and Priming Matter More Than the Color
Everyone picks the color first, but what happens to the wall before the first coat goes on decides how long the paint lasts.
October 13, 2026 · 4 min read
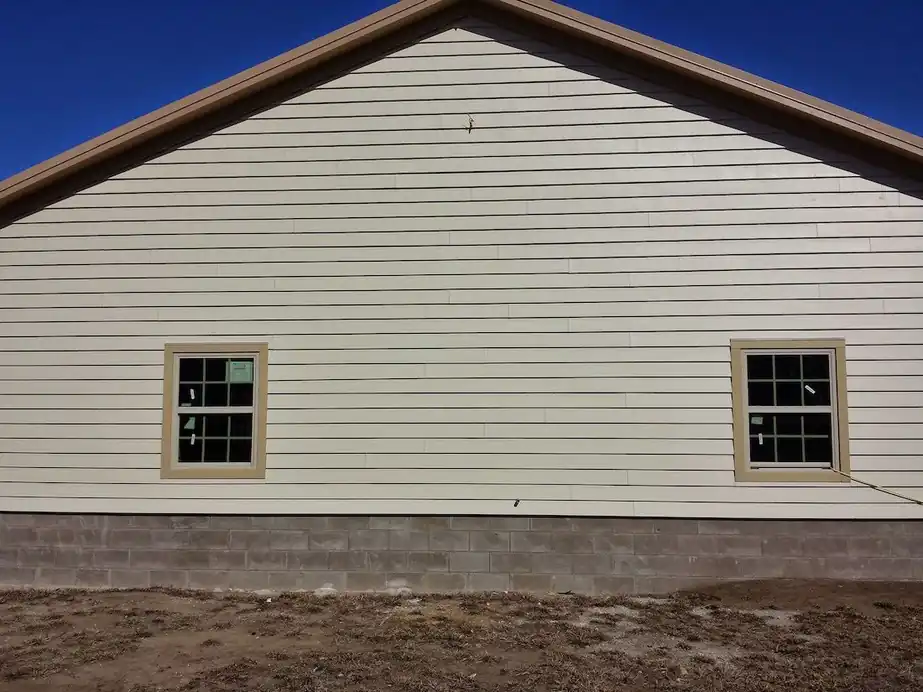
When people plan a repaint, they spend weeks on color. They collect samples, tape swatches to the siding and argue with their spouse about whether it's greige or just beige. Meanwhile the crew that will actually do the work often gets chosen in one phone call, based on who has the lowest number.
We understand the pull of color. It's the fun part. But after years of exterior painting around Tulsa and Wagner County, our honest view is that the color matters less than what happens before the first brush touches the wall. Prep is where a paint job is won or lost.
Paint only works on a sound, clean surface
Paint doesn't bond to dirt, chalk, mildew or loose old paint. It bonds to a clean, dry, stable surface, and to whatever is attached firmly to that surface. If you cover loose paint with new paint, you've simply built a thicker flake. It might look great for one season. Then it lets go in sheets.
That's why a proper exterior paint job starts with a long list of tasks that nobody photographs for social media. Here is what our own prep and scope list includes, and why each step is there.
Cleaning: power washing, mildew removal and surface cleaning
Dirt, pollen, chalky residue and mildew all sit between the old paint and the new. Power washing takes most of it off, and mildew removal deals with the green and black growth that a rinse alone can miss. If mildew is left in place, it can grow right through the fresh coat.
The wall then has to dry before anything else happens. Rushing this step is a classic way to trap moisture, so a good crew schedules around it instead of working on a damp surface.
Scraping and sanding: removing what's already failing
Next the crew removes loose paint and dirt, scraping surfaces where needed, then sanding the edges so the old paint doesn't leave a visible ridge under the new coat. This is the dull, physical part of the job, and the part that tends to be rushed on low bids.
Take a look at your own walls. If you can flake paint off with a fingernail, no amount of expensive finish coat will fix it. The loose material has to come off first.
Patching, caulking and carpentry
Cracks, nail holes and gaps are where water gets in. A thorough prep includes patching nail holes, repairing plaster or stucco cracks where they exist, and caulking and waterproofing where necessary. That includes seams around trim, windows and doors.
It also includes light carpentry, and replacing damaged or rotted wood. This matters more than most people realize. Paint on rotted wood fails quickly, so the board needs replacing before it gets any coat at all. We cover how to spot rot in a separate article, but the short version is: press on it. If it's soft, it can't be painted.
Hardware, shutters and fixtures
A tidy paint line around light fixtures, house numbers and door hardware doesn't happen by masking tape alone. Where practical, hardware and fixtures are removed before painting and put back afterward, and shutters are either removed or protected. It takes longer, and the result is crisp edges instead of paint dried on a doorknob.
Priming: the layer nobody sees
Primer is what grips the surface and gives the finish coat something consistent to hold onto. Bare wood, patched areas and repaired spots all need it, because they absorb paint differently than the old finish around them. Skip primer and you often get blotchy patches, called flashing, where the repairs show through the color.
Primer also helps with adhesion on tricky surfaces. It's one of the cheapest steps in the whole job and one of the most expensive to leave out.
Application, trim and cleanup
Only after all that does the painting begin, by brush and spray as the surface calls for it. Exterior surfaces, trim, entry and garage doors, windows and shutters, fences and gates and decks can all be part of a project. Neat and thorough cleanup finishes the job, and hardware and shutters go back where they belong.
The visible work, the actual painting, is often the smallest portion of the hours. It's also the portion that depends entirely on everything before it.
How to compare painting quotes fairly
- Ask for the prep steps in writing. Does the quote include washing, scraping, sanding, caulking and priming?
- Ask what happens if rotted wood turns up. Is replacement included, priced separately, or ignored?
- Ask how many coats are included and what product is being used.
- Ask whether hardware, shutters and fixtures will be removed or just taped.
- Ask what the contractor does about surfaces that are too wet to paint.
A quote that's much lower than the others usually got there by leaving something out. Prep is the most common thing to leave out because the homeowner can't see it afterward.
So what about color?
Color still matters. Pick one you'll enjoy for years, look at samples in morning and evening light, and try them on a wall that gets both sun and shade. Just don't let color decisions crowd out the questions that determine whether the paint is still on your house in a few seasons.
Oklahoma Siding does exterior painting for homes and businesses in Tulsa, Broken Arrow, Wagner County and nearby towns, and we back our work with a 5-Year Craftsmanship Warranty. If you'd like to see exactly what prep your house needs, call (918) 223-3987 and ask for a free estimate.
Oklahoma Siding, (918) 223-3987
Call (918) 223-3987More articles
LP Smart Siding vs James Hardie: What Swelling Looks Like and Why We Install Hardie Only
If you're comparing LP Smart Siding with James Hardie fiber cement, here is what we tell homeowners and why we only install one of them.
What Happens During a Siding Replacement, Step by Step
A siding replacement is less mysterious once you know the order the work happens in, so here is the job from first scrape to final walk-around.